Showing posts with label birthday. Show all posts

Wednesday, October 26, 2011

Crafting a Cowboy Party: Paper Mache Cactus

What is green and spiny and grows up to 62 feet tall? Why a cactus of course! The amazing ability of these plants to thrive in bright sunlight and punishing heat makes them an iconic element of the Southwest, and, therefore, a classic decoration for any Western themed party.

For James' Sweet Baby James Cowboy Party, a cactus was the very first decoration that I made.


The construction of this paper mache cactus is very similar in concept to the construction of the paper mache campfire from my previous post.

1. Tear paper into small strips and make a solution from 1 part Elmers White Glue and 2 parts water.

2. Blow up 1 large balloon to be the top of your cactus body and four slightly smaller balloons to be the tops of the "arms" and the "elbows" of your cactus.

3. Dip your small paper strips into the glue-water solution and use them to cover the balloons. Allow to dry, then cover with another layer.


4. When the paper mache is dry, pop the balloons and remove them.

5. Get a large piece of poster board (or two depending on how tall you would like your cactus to be). Roll the poster board into a cylindrical shape around the largest paper mache balloon to form the body of the cactus. Tape in place.

6. For the base of the cactus, cut out a cardboard circle that is approximately 18 inches in diameter. Tape the bottom of the poster board cylinder (your cactus body) to this cardboard circle.

7. Paper mache over the entire cactus body and cardboard circle base. Try not to get your pieces of paper too wet during this stage, because if the poster board gets too wet, it may get soft in spots and begin to collapse. Allow everything to dry.

8. To make the cactus arms, begin by cutting four long strips of poster board. Two of these should be about 8 inches wide to make the parts of the arms that attach to the cactus body. The other two will form the upright portions of the cactus arms and their width will depend on how tall you would like your cactus arms to be.

9. Rolling the poster board strips into cylindrical shapes and using the paper mache balloons and masking tape, form two L-shaped arms. Paper mache over the entirety of each arm and allow to fully dry.

10. Once the arms are dry, use masking tape to secure them to the cactus and paper mache over the area where they join. You will need to use something to support the arms while they dry.


11. Paper mache over the entire cactus once again.

12. To make the ground, soak a large quantity of small pieces of paper in the glue-water solution for several hours or overnight. This will make a type of paper mache pulp. Cover the circular base around the cactus with about a half inch thick layer of this pulp. Press your finger tips into the pulp to give it a ground-like texture. Allow to dry.

13. Paint your creation with acrylic craft paint.

14. Set your cactus up for your favorite buckaroos to enjoy!

I was really pleased with how the cactus turned out. I think it really added something special to the look of the room and the overall atmosphere of the party.
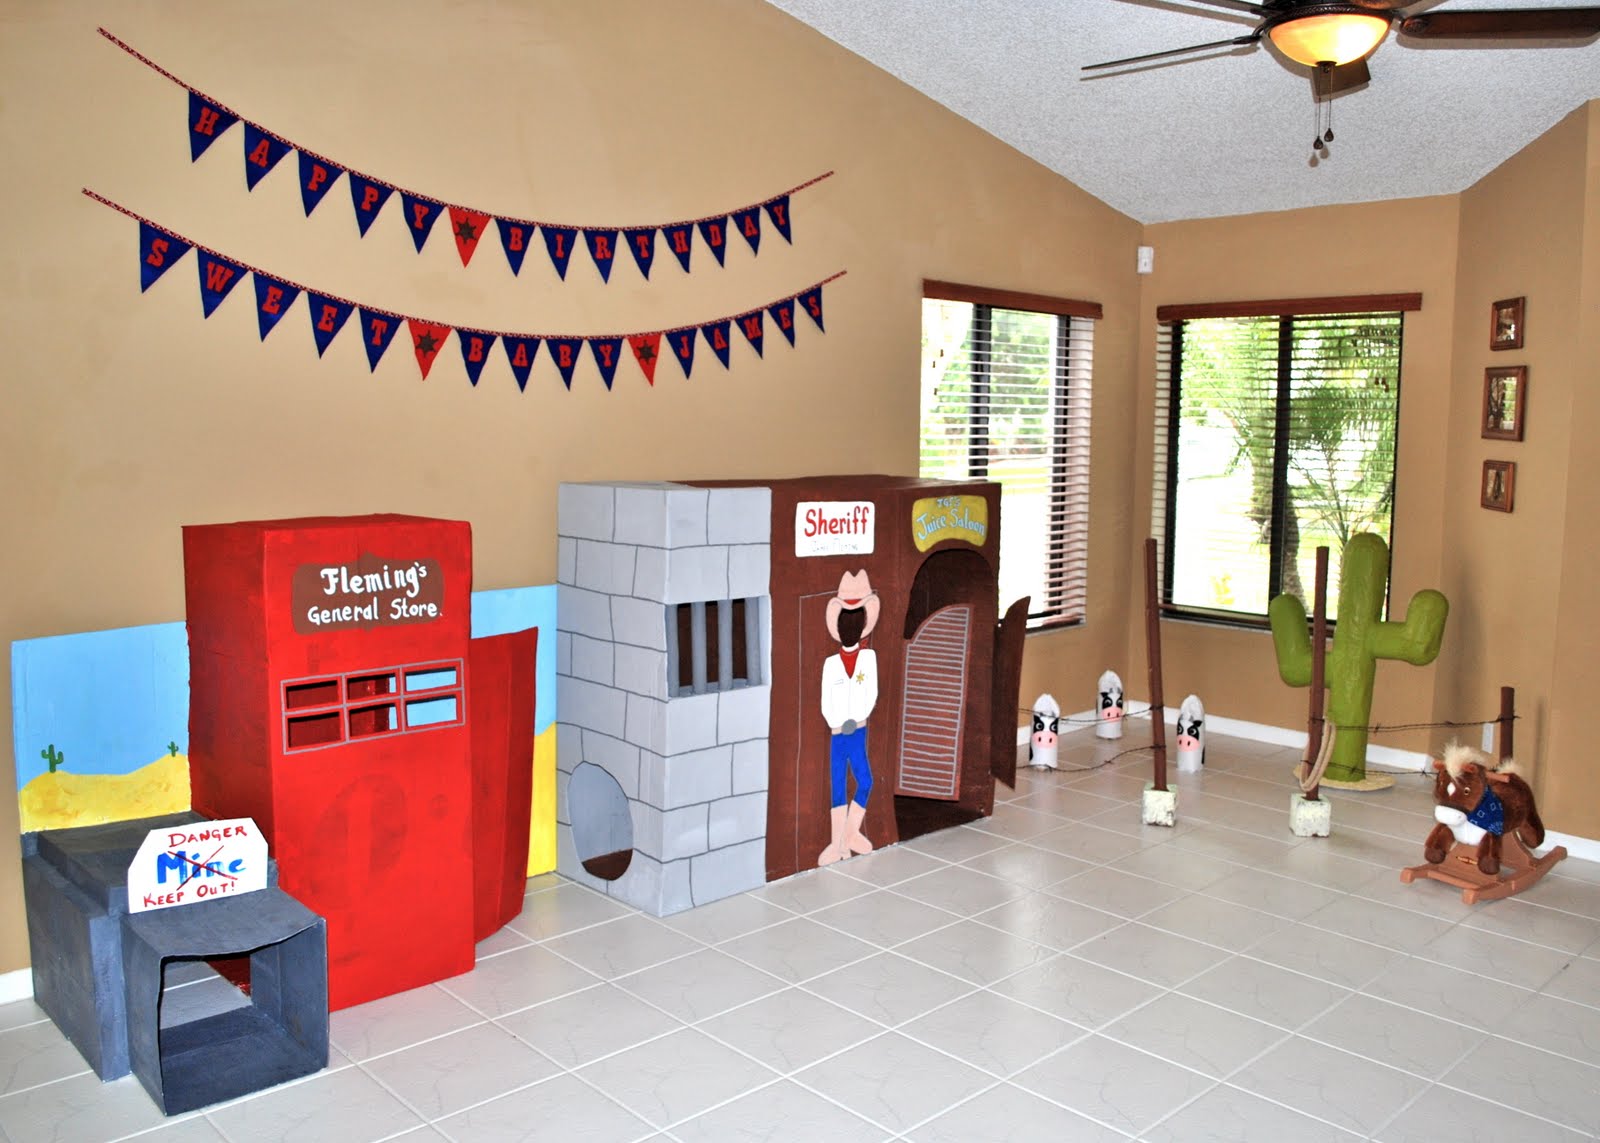


And, James' little guests loved it too!

Happy Crafting!

Monday, October 17, 2011

Crafting a Cowboy Party: Paper Mache Campfire

Close your eyes and visualize a cowboy. What do you see?

Some might see a man in tan chaps and a leather vest clinging to the back of an enraged bull at a rodeo. Others might see a clean shaven man in jeans, a starched cotton shirt, and cowboy hat doing a line dance at a rustic, local bar. Still others might visualize a dusty man on his horse surrounded by slowly moving cattle in the punishing heat of the Southwestern sun. However, when I imagine a cowboy, the first image that comes to mind is a tired, dusty man, sitting on a rolled up blanket by a crackling campfire, his horse tied up nearby, and he enjoying the peaceful stillness of the dark open plains.

"As the moon rises he sits by his fire, thinking about women and glasses of beer. Closing his eyes as the doggies retire, he sings out a song, which is soft, but it's clear, as if maybe someone could hear. Goodnight you moonlight ladies. Rockabye Sweet Baby James. Deep greens and blues are the colors I choose. Won't you let me go down in my dreams, and rockabye Sweet Baby James."
~James Taylor

With this vision of a cowboy on my mind, I knew that my son's Sweet Baby James Cowboy Party would not be complete without a campfire.


Since I was already working with paper mache for the Cardboard Western Town, I decided to make the campfire from the same material. As I mentioned in a previous post, I normally use torn-up, used printer paper and a 1 part Elmers White Glue and 2 parts water solution to do paper mache, because these are the materials readily available in my home.

1. After you have torn your paper into small strips and mixed up your glue-water solution, blow up approximately 12 balloons. Paper mache over them and allow to dry.


2. Paper mache a second layer onto your balloons. Let dry.

3. Once the paper mache is completely dry, pop the balloons and remove from them from inside the paper mache. Crumple the dry paper mache spheres into a rock like shape.

4. Cut out a large circle from a piece of cardboard. Mine was approximately 30 inches in diameter.

5. Place your paper mache rocks along the edge of the cardboard to form the outer ring of your campfire. My "rocks" stuck out over the edge of the cardboard circle by about an inch. Tape or hot glue the paper mache rocks in place and then paper mache over any exposed tape or glue.

6. Once everything is dry, paint the rocks and campfire base gray using an acrylic craft paint. If you have time (I did not, but wish I did) sponge on a second, darker color of gray on the rocks to give them a more realistic look.

7. To make the logs for the campfire, stuff paper towel tubes with crumpled newspaper or printer paper. Use masking tape to tape over the ends and hold in the crumpled paper. Then, paper mache over the masking tape and the length of the paper towel tube.

8. Stack the paper mache logs in the center of the paper mache campfire in the same manner that you would stack logs in a real campfire. Tape or hot glue the logs in place and paper mache over any exposed tape or glue. Paint the paper mache logs brown using an acrylic craft paint.

9. Scatter red paper shreds around the bottom of the campfire to mimic hot embers and use red, yellow, and orange tissue paper to create flames.

You're done and ready to roast some imaginary marshmallows!

The kids at James' party loved eating their lunch around the campfire!


Happy Crafting!

Friday, October 7, 2011

Crafting a Cowboy Party: Birthday Banner

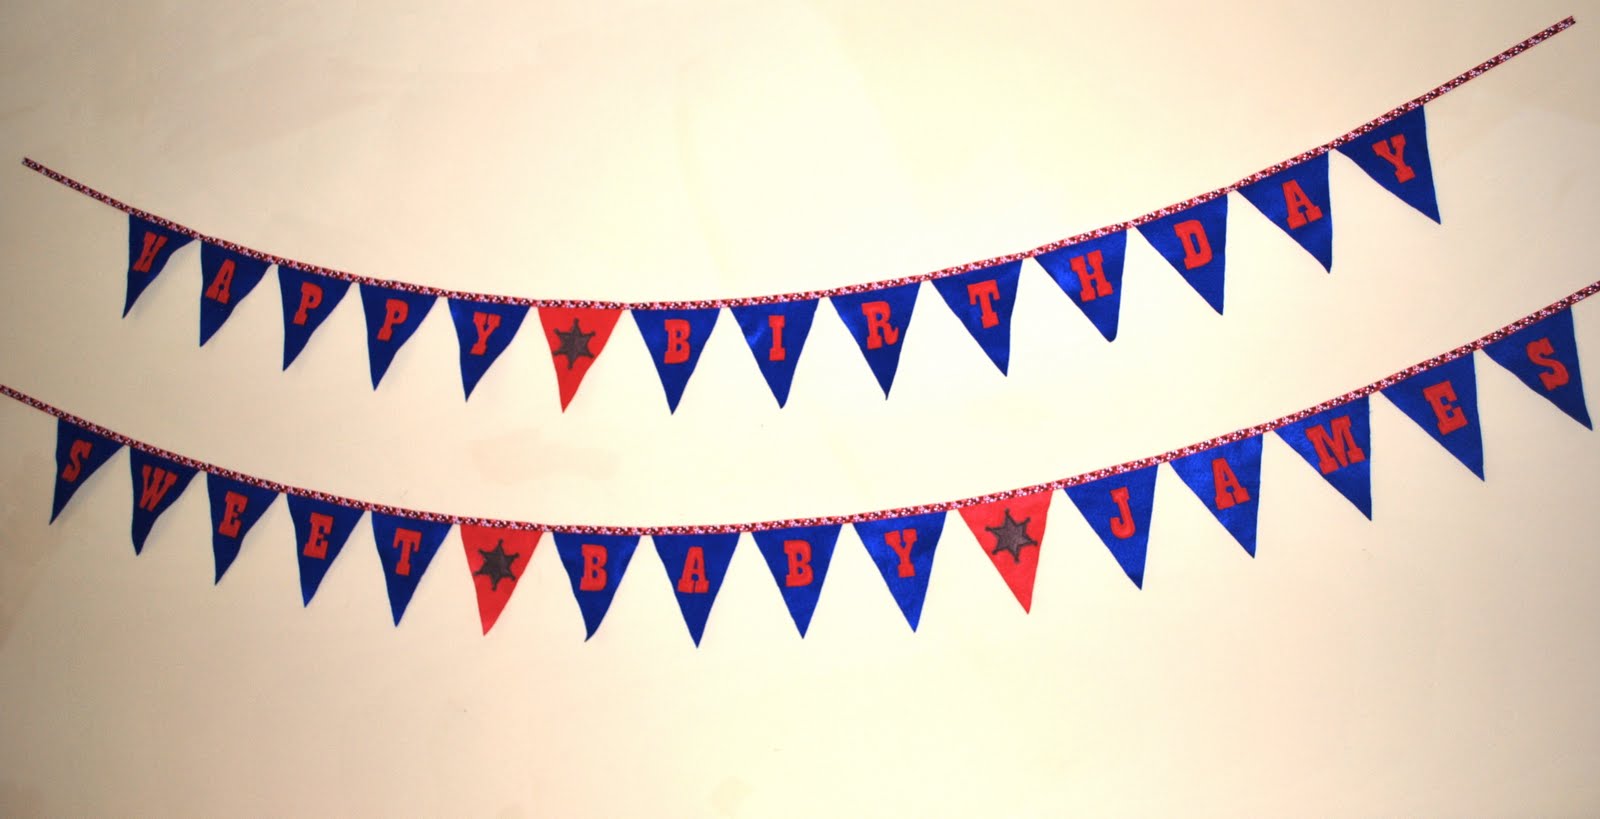
I decided pretty early on that James just had to have a home made birthday banner for his Sweet Baby James Cowboy Party. After all, without a banner how could anyone possibly know that it was his birthday? There were only the balloons, the cake, the outfit...but, that's beside the point. Birthday banners are classic and iconic and James was going to have one.


After looking at a few pictures online, I decided on this method for making the banner:

1. Create a pattern for the pennants, letters, and star embellishment on Photoshop Elements. You can find the pattern here.

2. Cut everything out of felt. I made most of the pennants blue and the letters red. However, the pennants that would be the spaces between the words were red with brown sheriff stars, which made for nice contrast, but still fit the overall color scheme.

3. Pin the letters to their individual pennants. I would suggest lining up the pennants, so that you can make sure that the letters will be level when the pennants are eventually attached to the ribbon to make the banner.

4. Sew around the letters using a quarter inch seam allowance.


5. Pin sheriff stars to their individual pennants. Sew around the stars using a quarter inch seam allowance.

6. Choose a ribbon to sew your pennants onto to form your banner. I found a nice half inch wide bandanna print red ribbon in the ribbon aisle of my local fabric store.

7. Lay out your ribbon with the wrong/bad side facing up. Lay your pennants face down (wrong side up) on the ribbon. Match up the top edge of the pennant with the top edge of the ribbon. The top corners of the adjacent pennants should be about 1/8 to 1/4 inch apart. Remember to leave at least 8 inches of ribbon at both ends of the banner for hanging. Pin the pennants to the ribbon.


Note: I decided to divide my pennants into two groups and make two banners, since my message was so long. That way I could hang one above the other. The first read, "Happy Birthday" and the second said, "Sweet Baby James."

8. Sew down the middle of the ribbon to attach the pennants to the ribbon.

9. Hang banner and enjoy!


Just in case you missed the link for the pattern above here it is again:

Cowboy Pennant Banner

Happy Crafting!