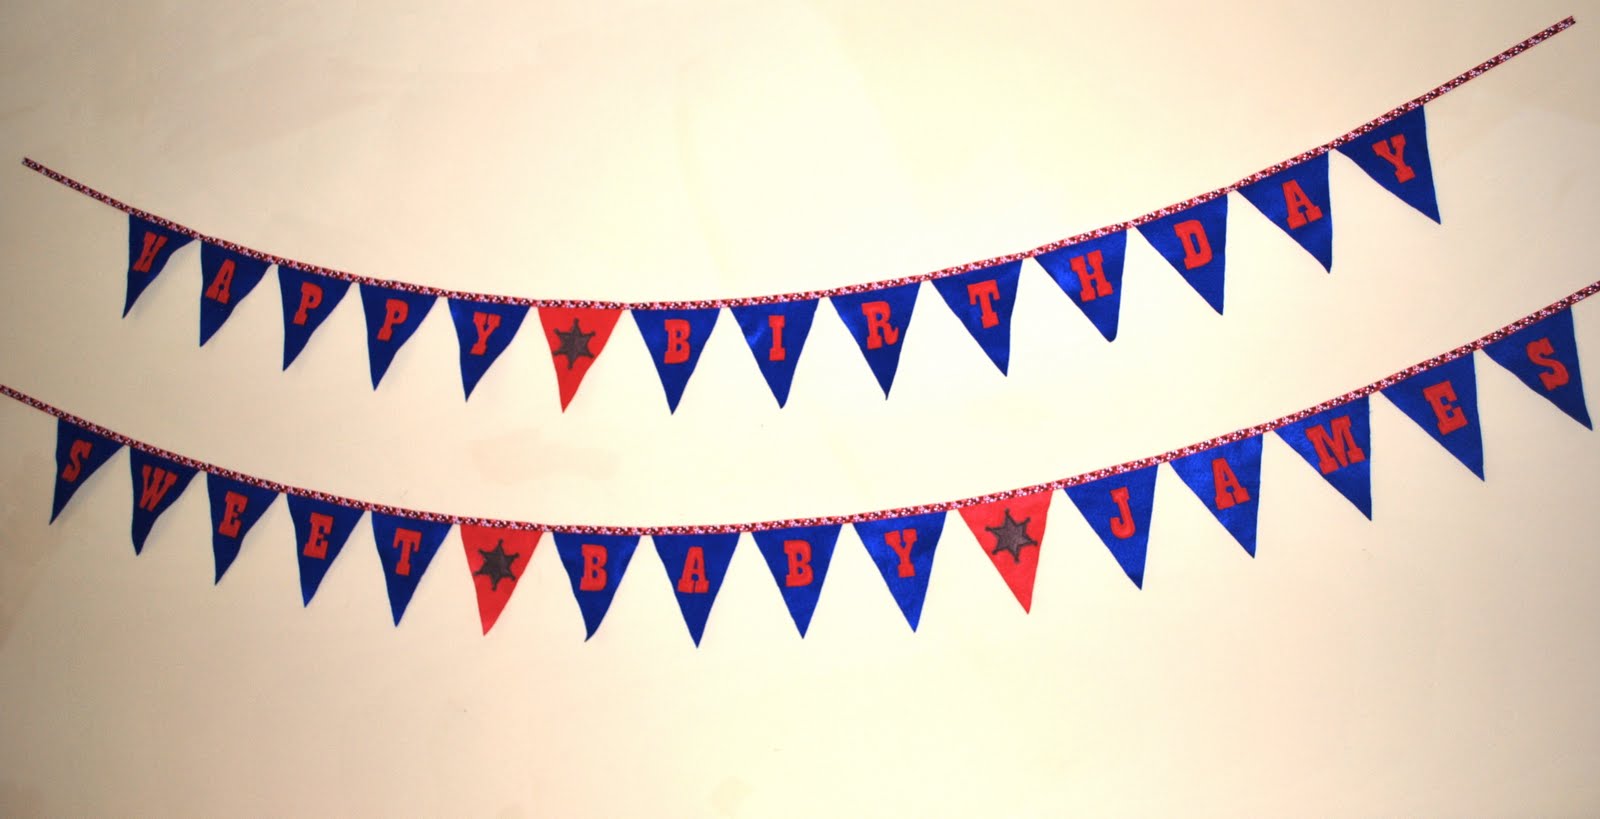
For James' Sweet Baby James Cowboy Party, a cactus was the very first decoration that I made.

The construction of this paper mache cactus is very similar in concept to the construction of the paper mache campfire from my previous post.
1. Tear paper into small strips and make a solution from 1 part Elmers White Glue and 2 parts water.
2. Blow up 1 large balloon to be the top of your cactus body and four slightly smaller balloons to be the tops of the "arms" and the "elbows" of your cactus.
3. Dip your small paper strips into the glue-water solution and use them to cover the balloons. Allow to dry, then cover with another layer.

4. When the paper mache is dry, pop the balloons and remove them.
5. Get a large piece of poster board (or two depending on how tall you would like your cactus to be). Roll the poster board into a cylindrical shape around the largest paper mache balloon to form the body of the cactus. Tape in place.
6. For the base of the cactus, cut out a cardboard circle that is approximately 18 inches in diameter. Tape the bottom of the poster board cylinder (your cactus body) to this cardboard circle.
7. Paper mache over the entire cactus body and cardboard circle base. Try not to get your pieces of paper too wet during this stage, because if the poster board gets too wet, it may get soft in spots and begin to collapse. Allow everything to dry.
8. To make the cactus arms, begin by cutting four long strips of poster board. Two of these should be about 8 inches wide to make the parts of the arms that attach to the cactus body. The other two will form the upright portions of the cactus arms and their width will depend on how tall you would like your cactus arms to be.
9. Rolling the poster board strips into cylindrical shapes and using the paper mache balloons and masking tape, form two L-shaped arms. Paper mache over the entirety of each arm and allow to fully dry.
10. Once the arms are dry, use masking tape to secure them to the cactus and paper mache over the area where they join. You will need to use something to support the arms while they dry.

11. Paper mache over the entire cactus once again.
12. To make the ground, soak a large quantity of small pieces of paper in the glue-water solution for several hours or overnight. This will make a type of paper mache pulp. Cover the circular base around the cactus with about a half inch thick layer of this pulp. Press your finger tips into the pulp to give it a ground-like texture. Allow to dry.
13. Paint your creation with acrylic craft paint.
14. Set your cactus up for your favorite buckaroos to enjoy!
I was really pleased with how the cactus turned out. I think it really added something special to the look of the room and the overall atmosphere of the party.
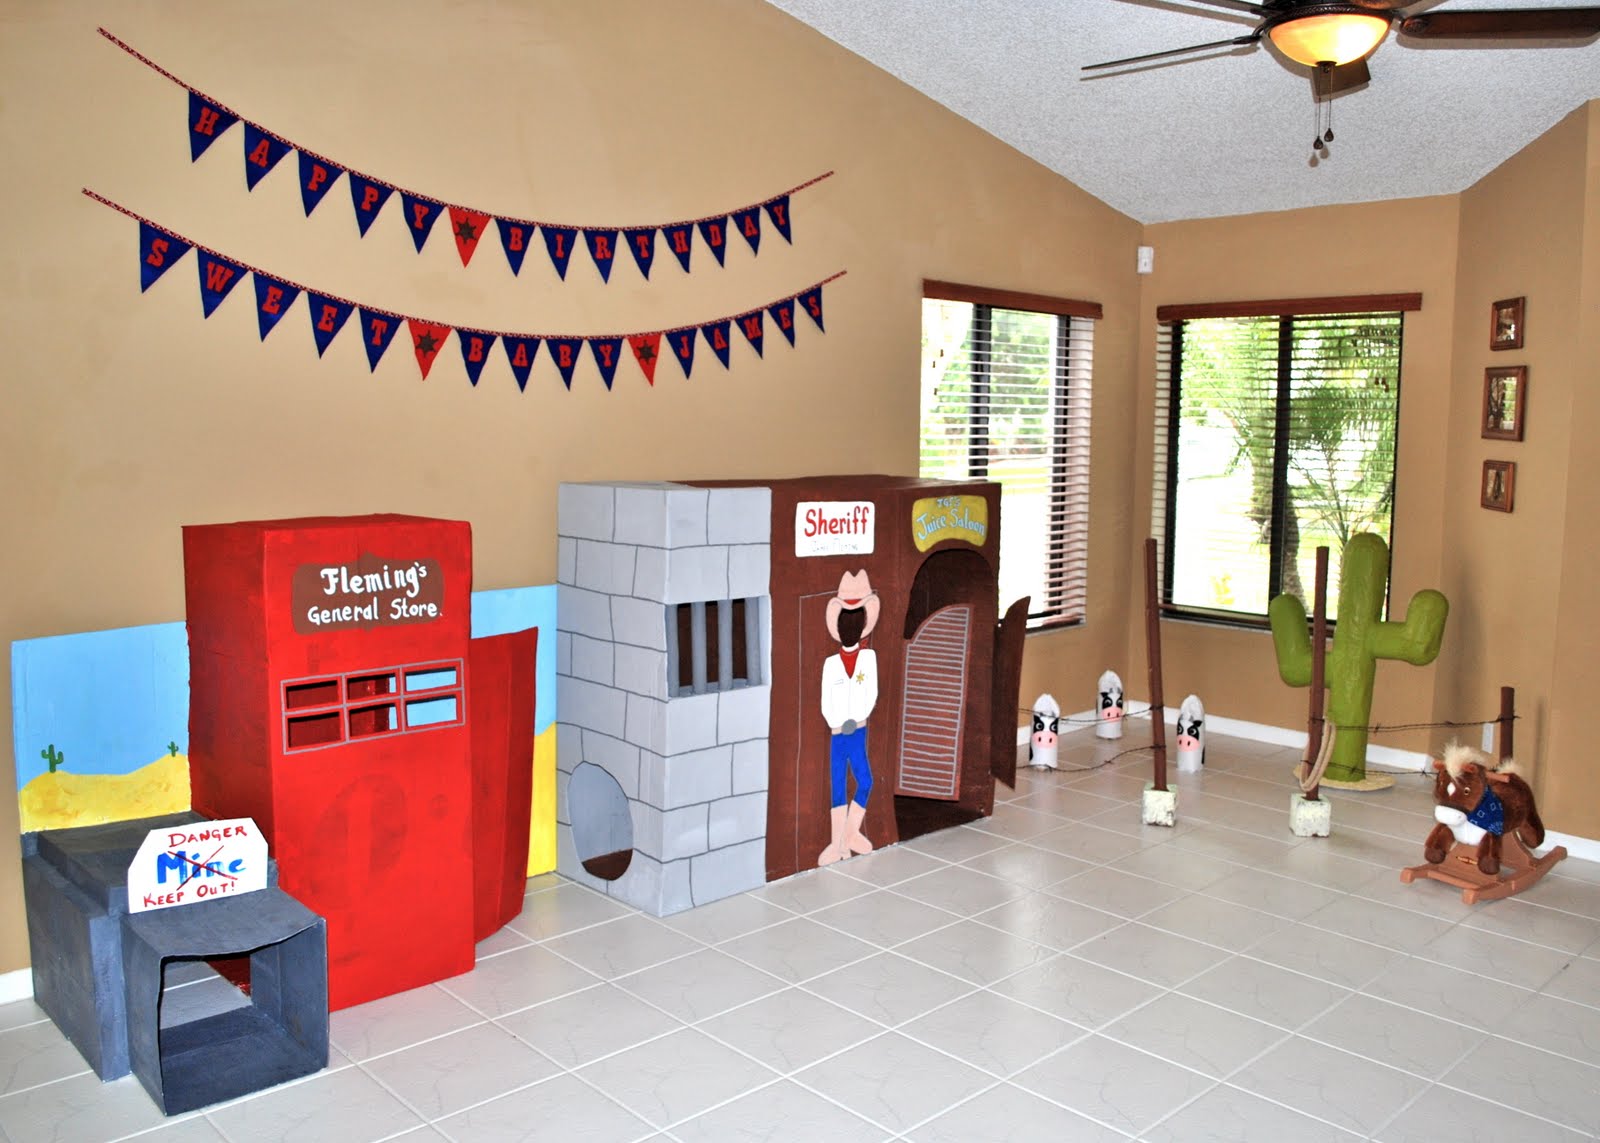

And, James' little guests loved it too!
Happy Crafting!